https://www.youtube.com/watch?v=vl6UvuqtoXc&t
Blood Scheme is a game of base on real crime cases from the scam of the century. Play as the journalist to complete your article to stop the company listed before you are the only one who knows this is a scam.
Every round, you will pull the new clue card on the board, and you roll and dice to fulfil the clue condition to gain the resource. Otherwise, the company will raise more funding when those clues fail to resolve.
You are wrong if you think the company is your only enemy! The board of the company is the real enemy behind everything. Face the problem come from every board member, like the media proprietor, former admiral, former senator, former secretary of state, millionaire and so on.
Your article is like a mission impossible, but you know you are the only one who can stop it.
Features
- Every new game is a random combination of target company skill and board member, chosen by you to start the game.
- Roll dice, use dice to fulfil clue condition. if you fail to complete the clue, your enemy will move 1 more step for public listing.
- Use rolled dice to prevent triggering enemy skill. Every round enemy will roll company dice to trigger the skill, and you need to do risk management for it. Put dice to those skills you want to prevent, it will make you reduce useable dice, but this is your choice.
- New board member will keep joining when the company raise the funding until the target amount. At that time, you can’t do anything and just can looking the company getting stronger. Make sure to build up your advantages before too late.
- When you gain enough resources, you need to take risks to open an unknown evidence card. If you have enough clue resources, you can exchange them to be your victory point! Otherwise, the evidence card will trigger events, and the results can either be good or bad.
- Careful for your stress level, it will break you when it reaches 10!
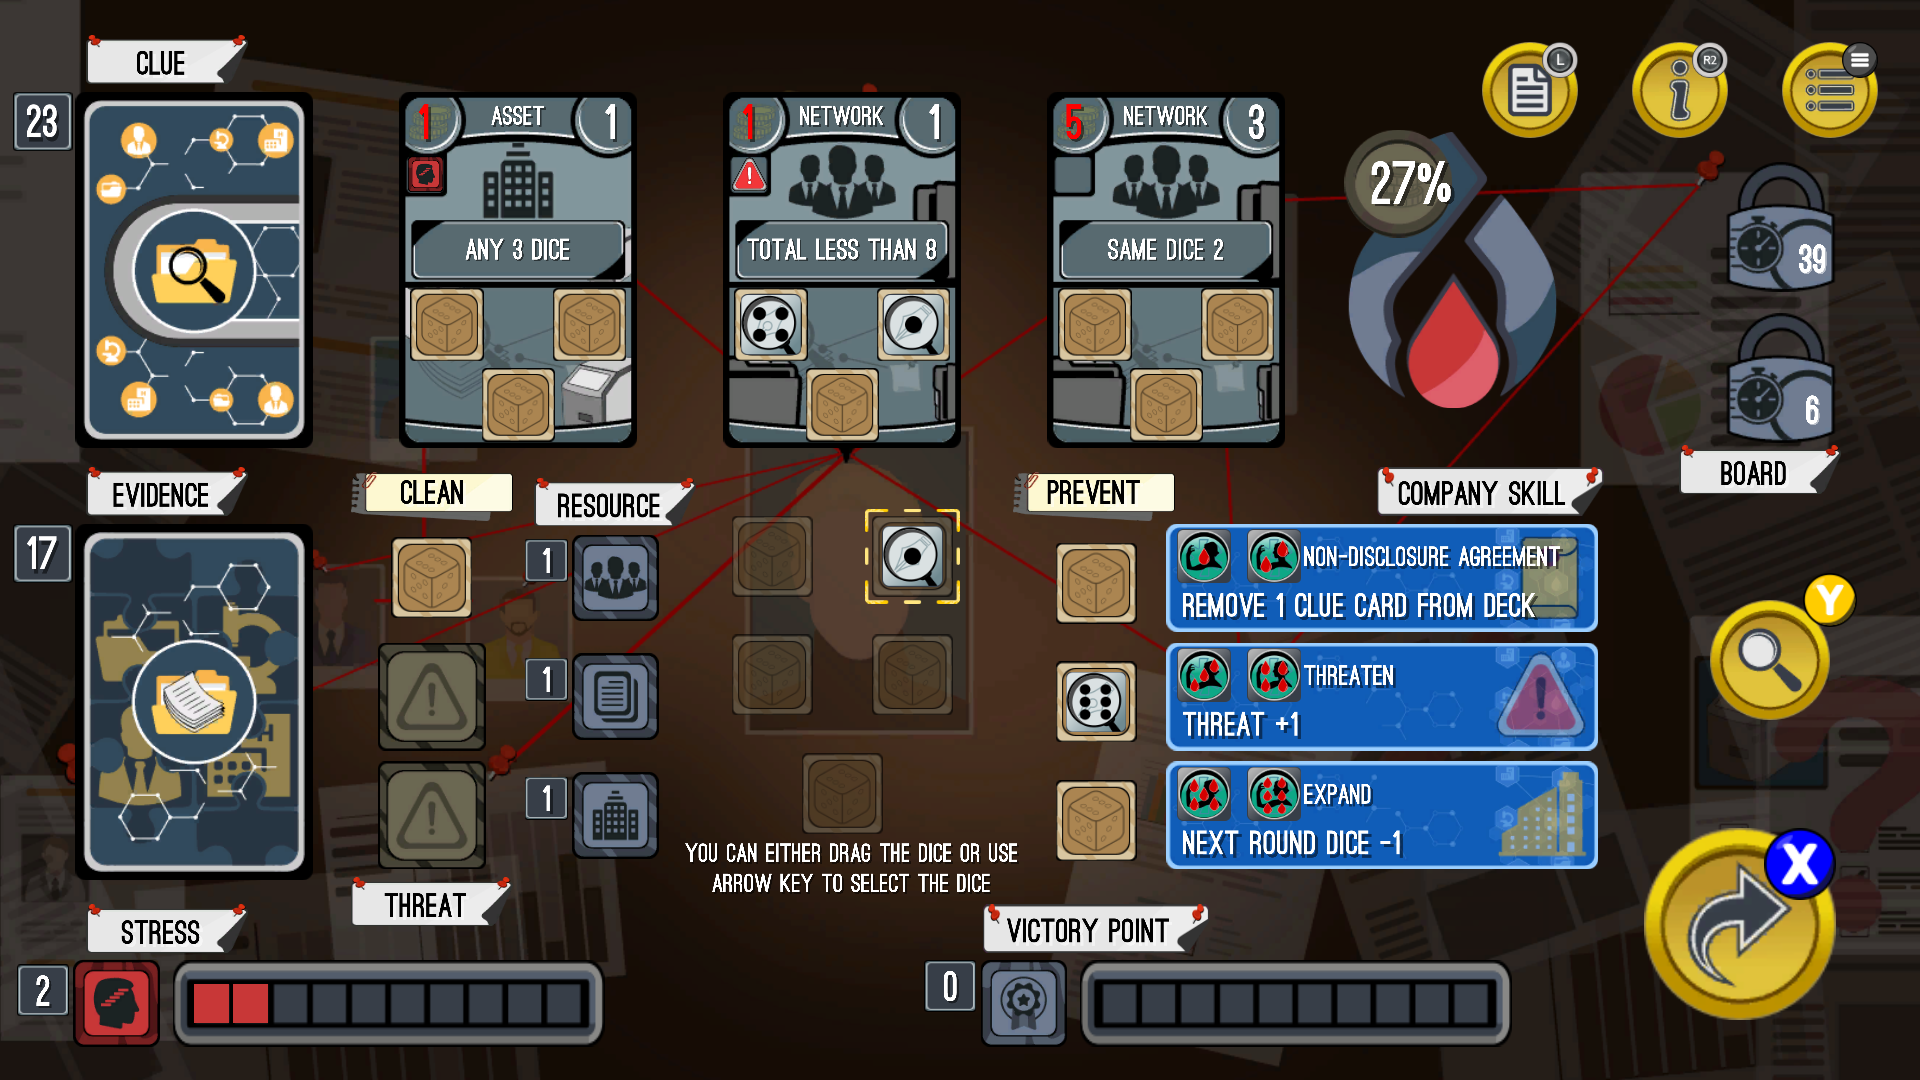
Image #1
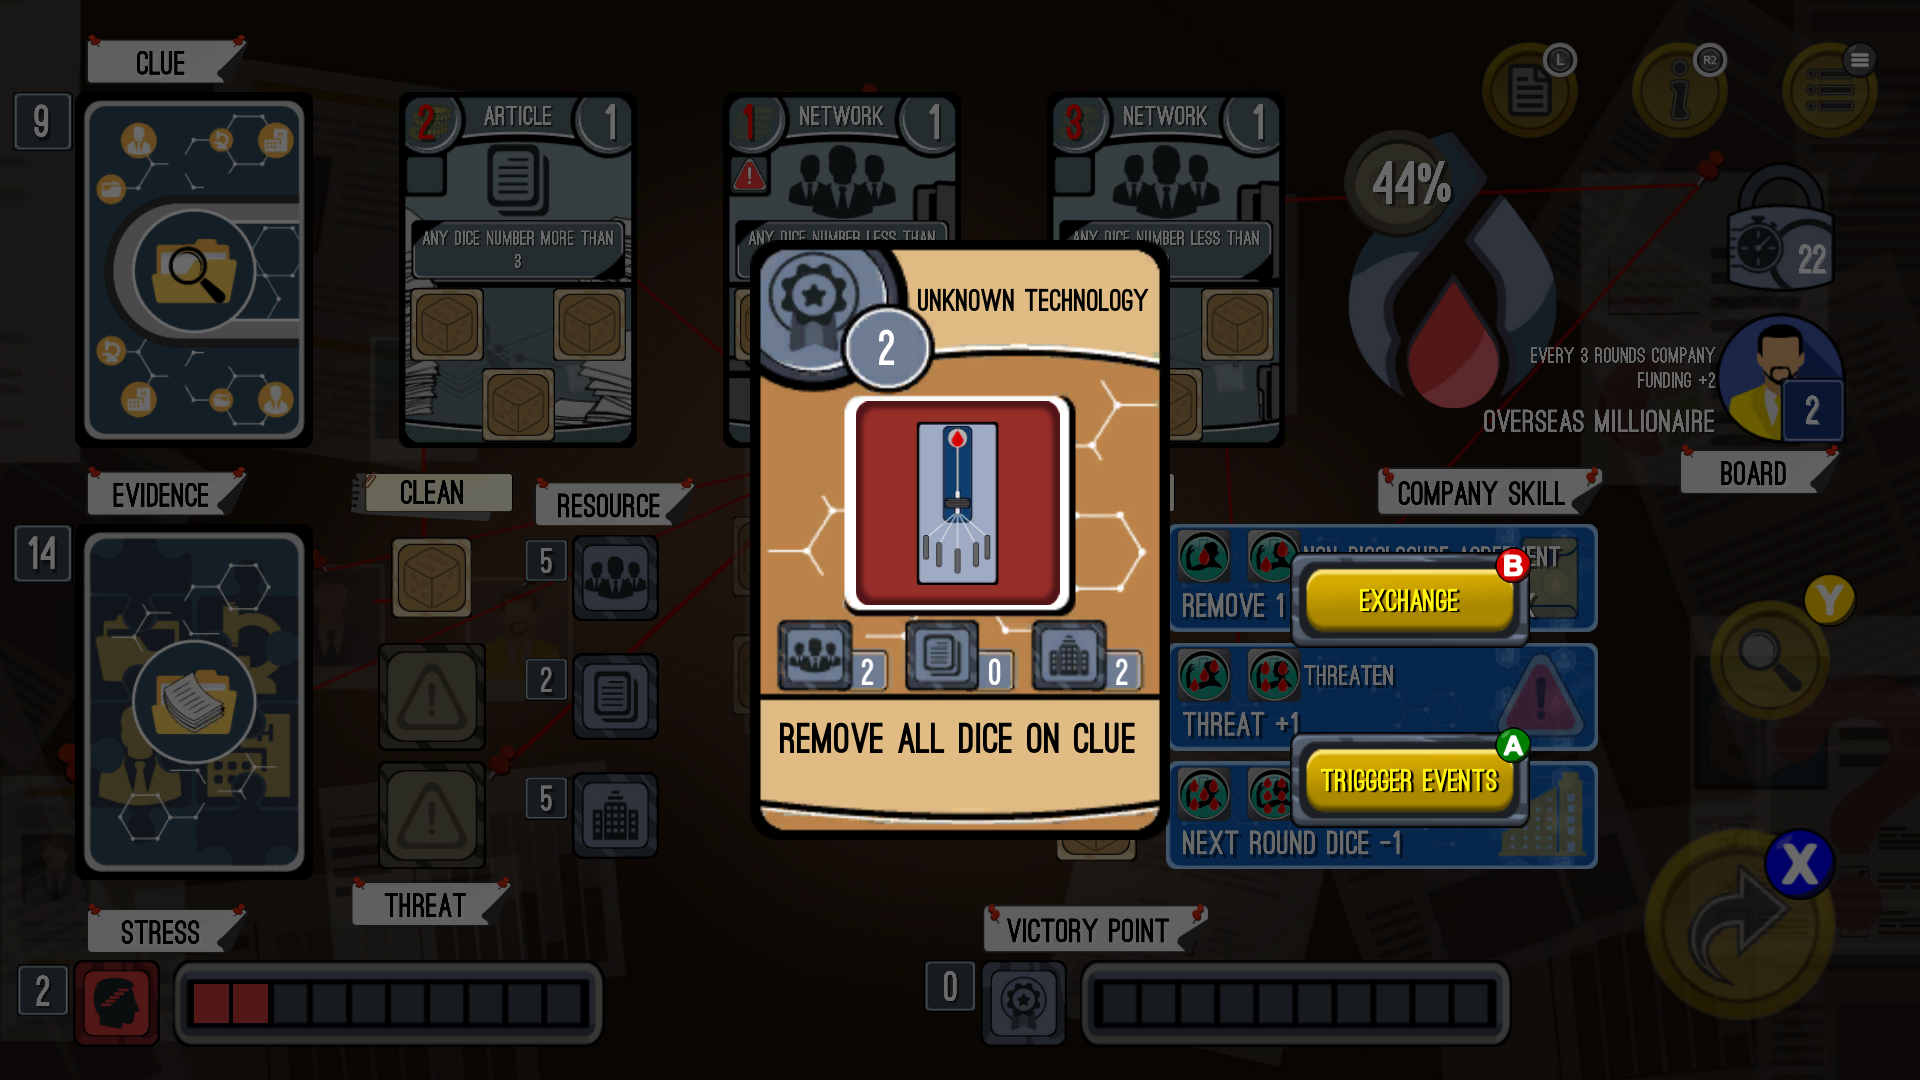
Image #2
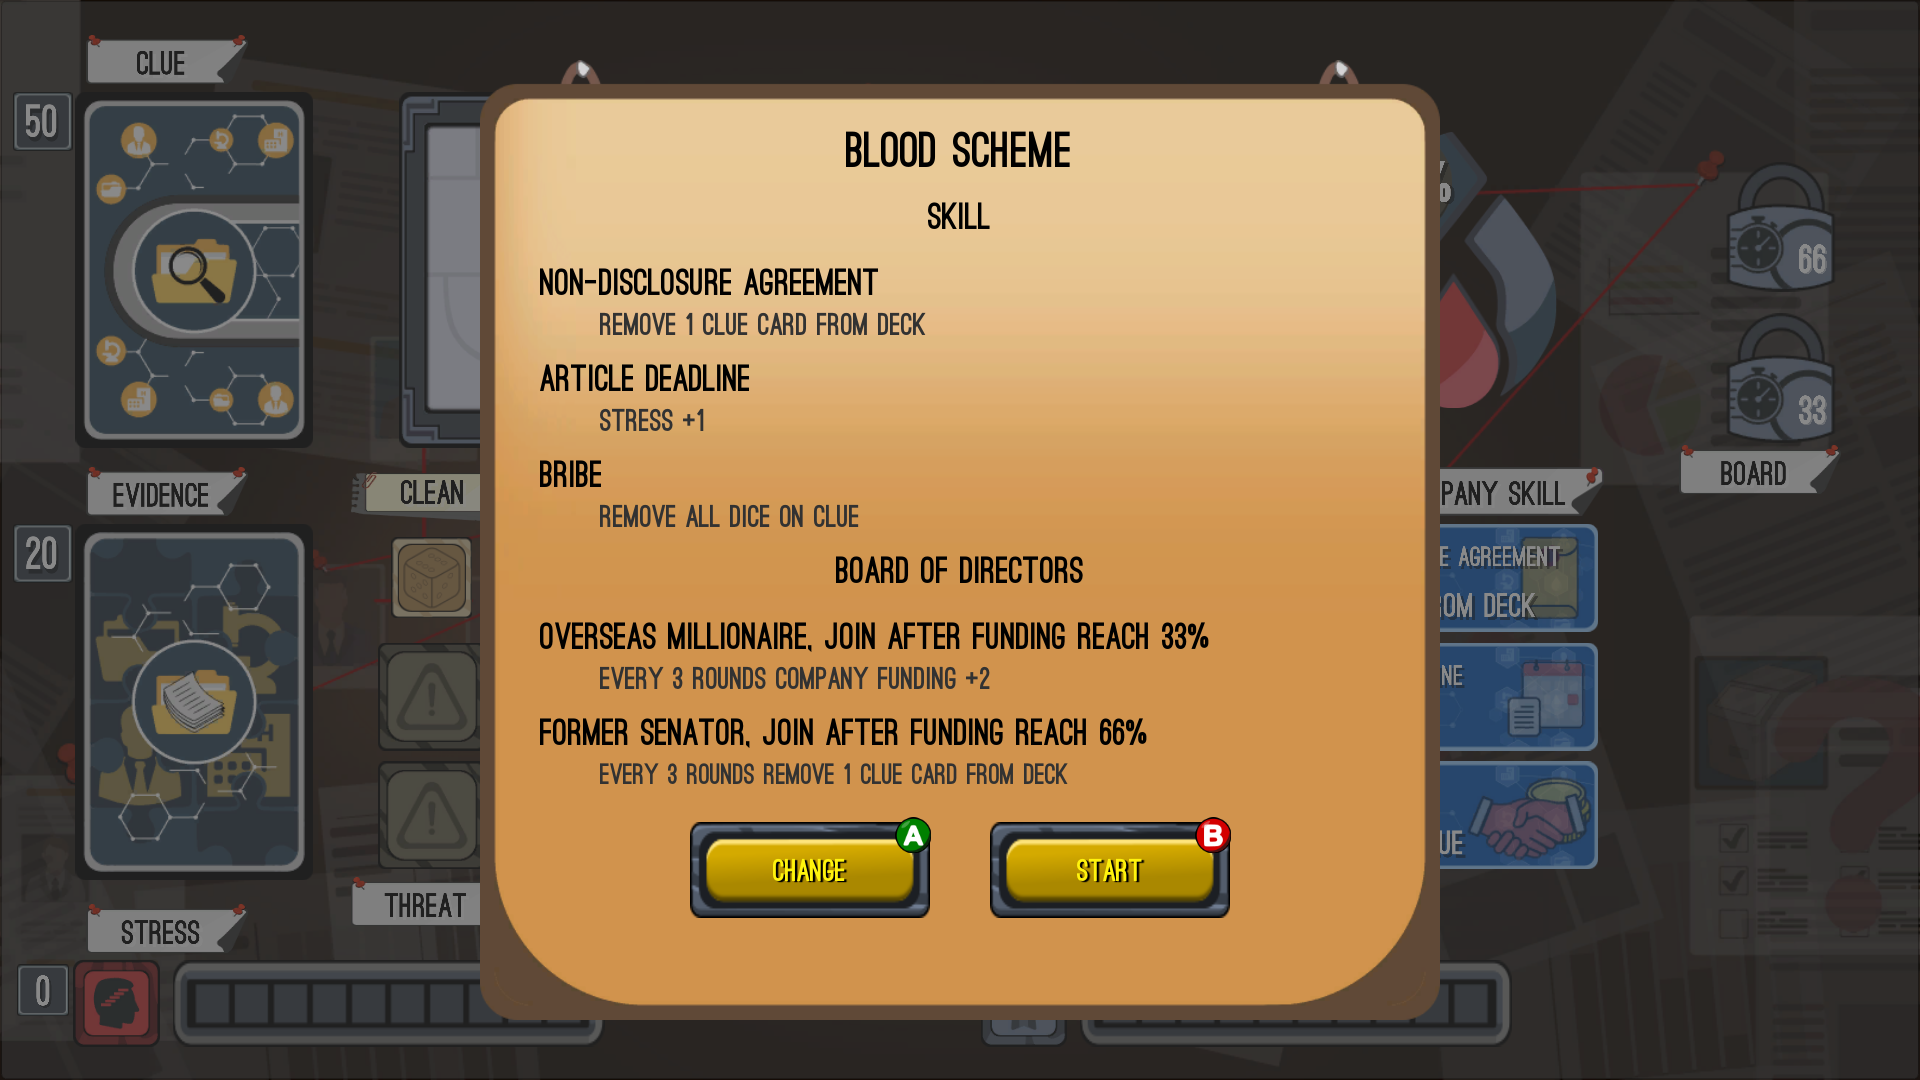
Image #3
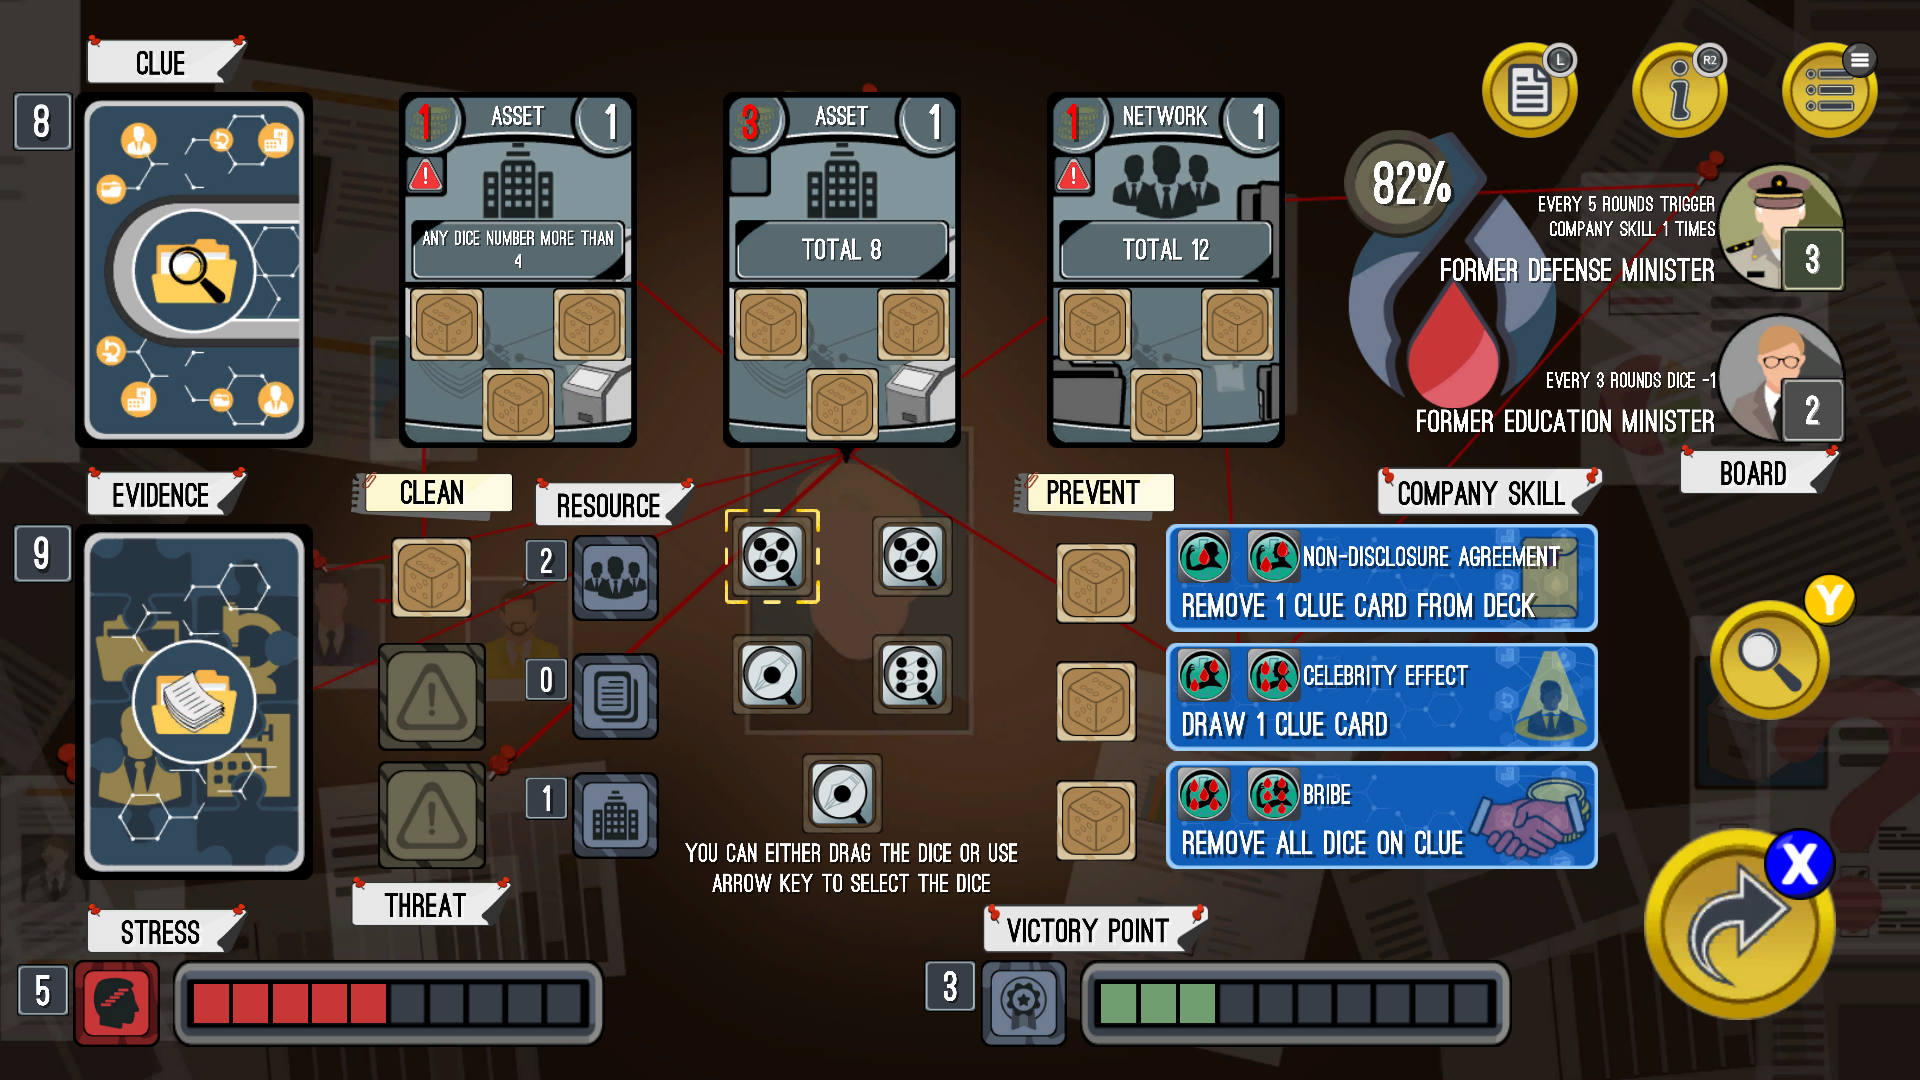
Image #4
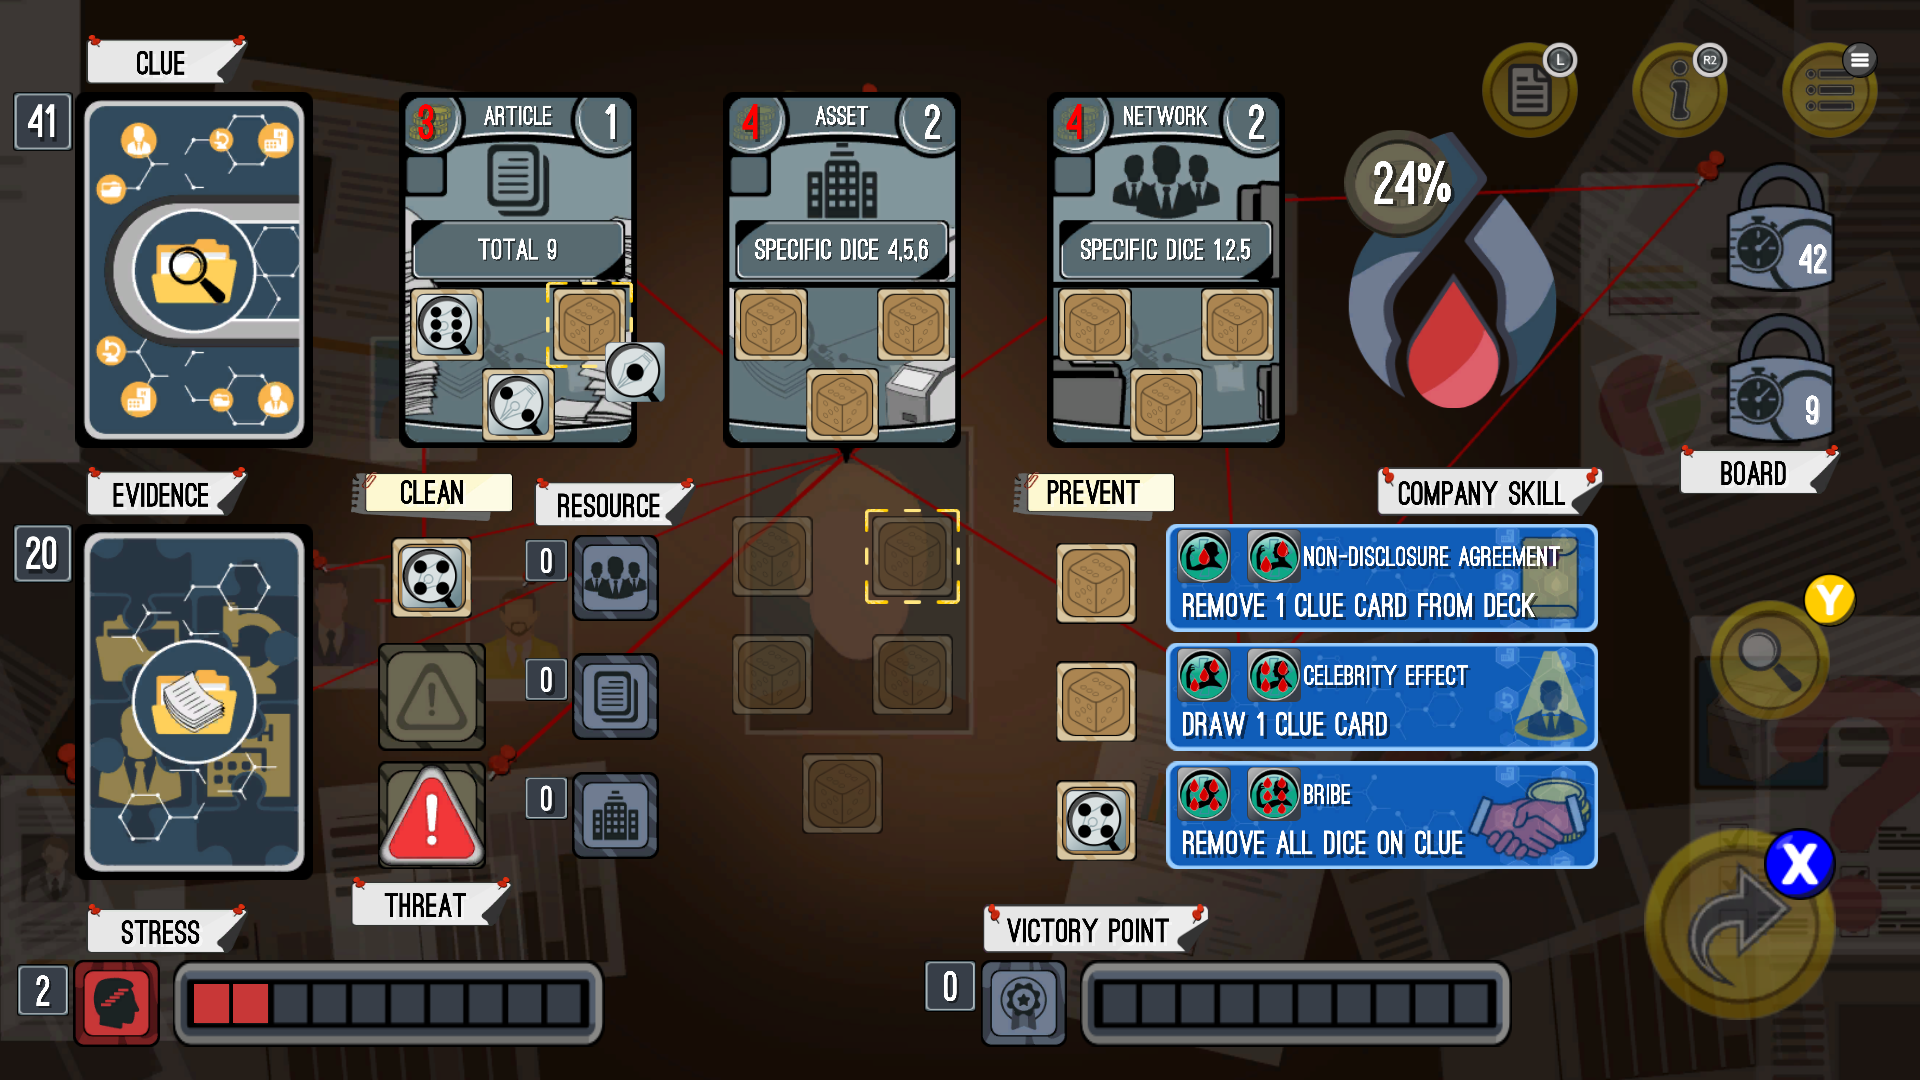
Image #5
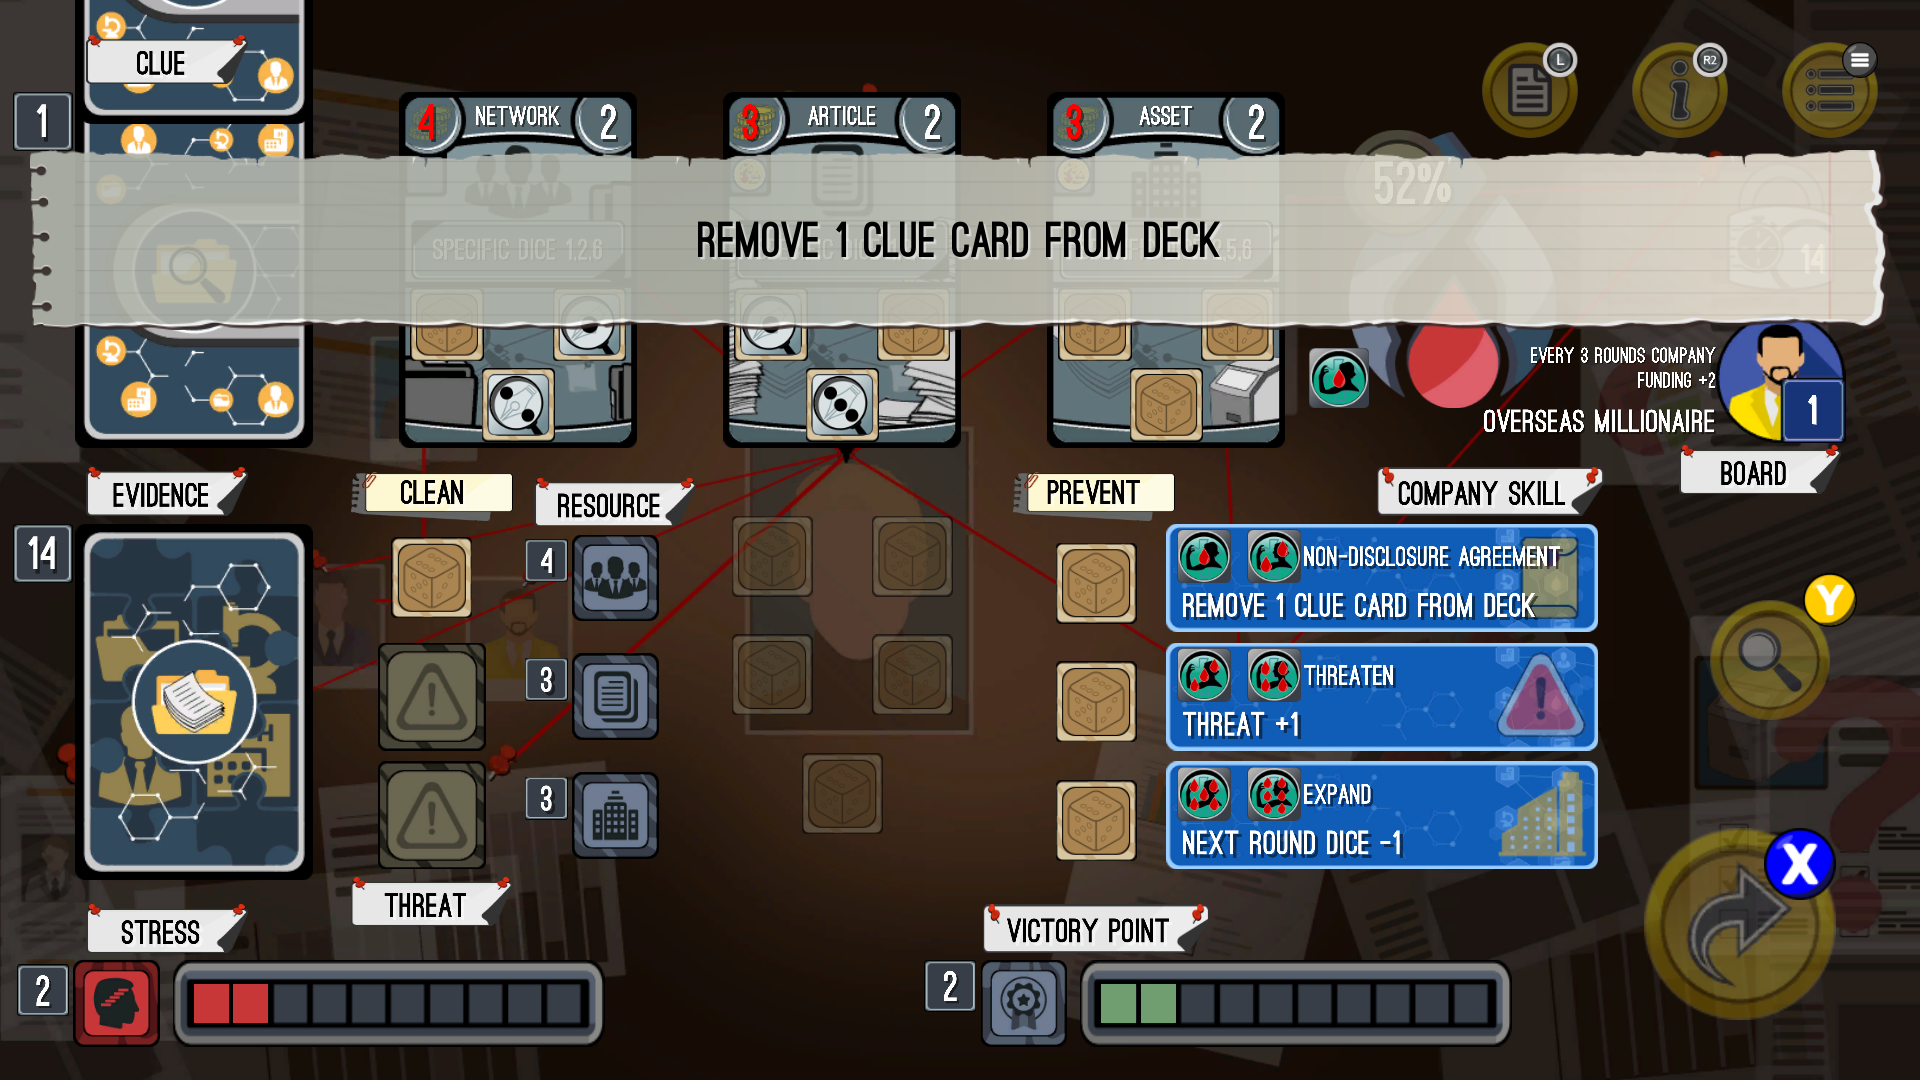
Image #6